Alegra Invoicing for WooCommerce
Alegra Invoicing for WooCommerce
Description
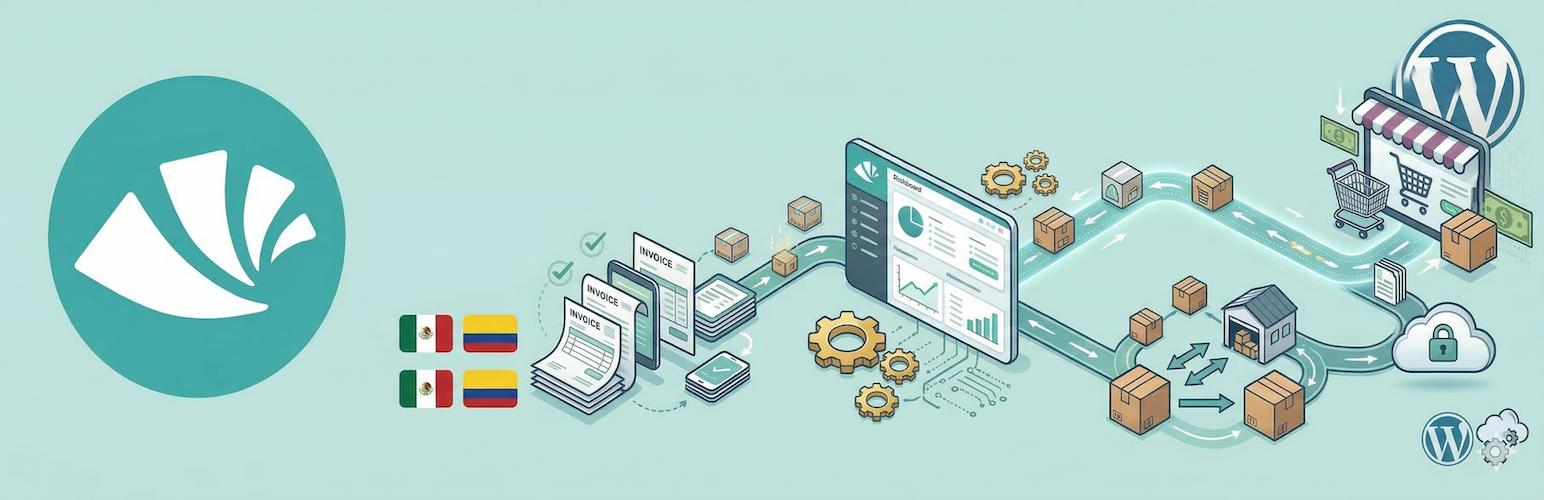
Automate your invoicing workflow with Alegra. This plugin adds identification fields to your WooCommerce checkout so Alegra can issue compliant invoices automatically after each sale.
How does it work?
- The plugin adds document number and document type fields to your checkout.
- You connect WooCommerce from your Alegra account.
- Alegra receives the order data and generates the invoice automatically.
Key features
- Compatible: Works with both classic WooCommerce checkout and WooCommerce Blocks.
- Secure: Processing happens in Alegra, without adding heavy tasks to your web server.
- Configurable: Customize the document number label and choose whether the fields are required.
Installation
- Upload the plugin folder to
/wp-content/plugins/, or install it from the WordPress plugins screen. - Activate the plugin from the
Pluginsscreen in WordPress. - Go to
WooCommerce > Settings > Generaland find theAlegra - Electronic Invoicingsection. - Configure the document number label, document type label, and whether the fields are required.
- Sign in to your Alegra account, open
MarketplaceorIntegrations, find WooCommerce, and follow the connection steps.
Faq
No. The plugin prepares your store to capture the tax information required for invoicing. Invoice issuance and accounting happen automatically in your Alegra account.
The integration is primarily designed to support Mexico (SAT) and Colombia (DIAN), but you can use the checkout field in any country available in Alegra.
Installing the plugin is only the first step. To see invoices, go to your Alegra account and complete the WooCommerce connection to activate synchronization.
Reviews
Changelog
1.0.0
- Initial public release.
- Support for document capture in WooCommerce Blocks and classic checkout.
- Settings integration in WooCommerce general settings.