Monster Widget

Monster Widget
Description
The Monster widget consolidates all 13 core widgets into a single widget enabling theme developers to create multiple instances with ease. It has been created to save time during theme development and review by minimizing the steps needed to populate a sidebar with widgets. The Monster widget is not designed for use in production.
Installation
This plugin can be installed directly from your site.
- Log in and navigate to Plugins → Add New.
- Type “Monster Widget” into the Search input and click the “Search Widgets” button.
- Locate the Monster Widget in the list of search results and click “Install Now”.
- Click the “Activate Plugin” link at the bottom of the install screen.
- Navigate to Appearance → Widgets and create a new instance.
It can also be installed manually.
- Download the plugin from WordPress.org.
- Unzip the package and move to your plugins directory.
- Log into WordPress and navigate to the “Plugins” screen.
- Locate “Monster Widget” in the list and click the “Activate” link.
- Navigate to Appearance → Widgets and create a new instance.
Screenshots

The Monster widget will appear in your list of available widgets.
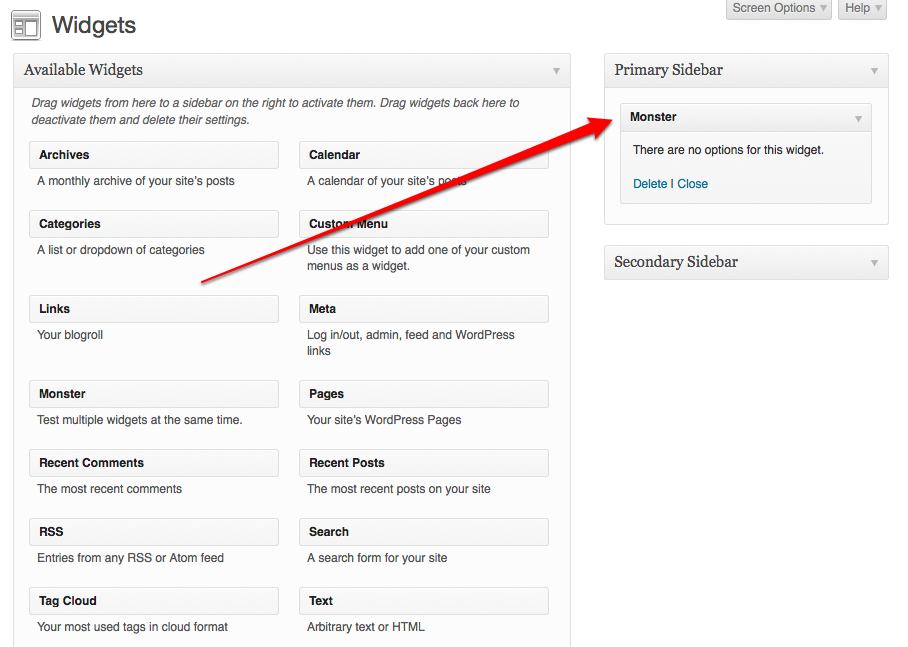
Drag it to a widget area to create an instance.
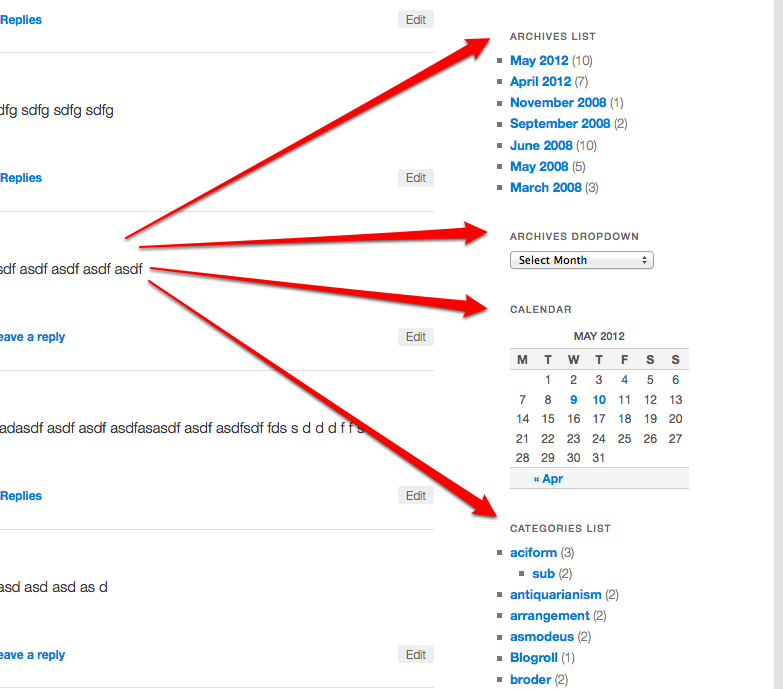
View your site and see that all core widgets are displayed!
Faq
Installation Instructions
This plugin can be installed directly from your site.
- Log in and navigate to Plugins → Add New.
- Type “Monster Widget” into the Search input and click the “Search Widgets” button.
- Locate the Monster Widget in the list of search results and click “Install Now”.
- Click the “Activate Plugin” link at the bottom of the install screen.
- Navigate to Appearance → Widgets and create a new instance.
It can also be installed manually.
- Download the plugin from WordPress.org.
- Unzip the package and move to your plugins directory.
- Log into WordPress and navigate to the “Plugins” screen.
- Locate “Monster Widget” in the list and click the “Activate” link.
- Navigate to Appearance → Widgets and create a new instance.
Why I do not see the Menu widget?
The core Menu widget provides an interface that enables you to select a custom menu to display. The Monster widget will attempt to locate the custom menu having the most links on your site. In the event that no menus are registered, a menu widget will not be displayed. Likewise, if all of your custom menus are empty (no links added to them), no menu widget will be displayed.= Why was the pipe test removed in version 0.3 =
A couple members of the Theme Team at Automattic had a discussion about the relevance of this test and we came to the conclusion that it is rather unnatural. Moving forward it would be best to only include markup and data that best represent actual use cases.
Reviews
Useful
By mythemes on June 20, 2017
First plugin i install on builds
By peterorpete on September 3, 2016
Super useful, has most of the development plugins you will need
Works Great
By Brandon Hubbard (bhubbard) on September 3, 2016
This is a great tool for theme testing.
Changelog
v0.3 – January 5th, 2013
- Added test photograph by directly to the plugin. Thanks to Rarst for the bug report.
- Add a really long select element to the text widget. See _s issue #99.
- Add a smiley to the image caption.
- Remove the “pipe test”.
- Bump version number.
- Update Changelog.
v0.2 – October 18th, 2012
- Create custom cache key for the Recent Posts widget.
- Only add the Links widget when it has been registered.
- Bump version number.
- Update Changelog.
v0.1 – May 12th, 2012
- Original Release.